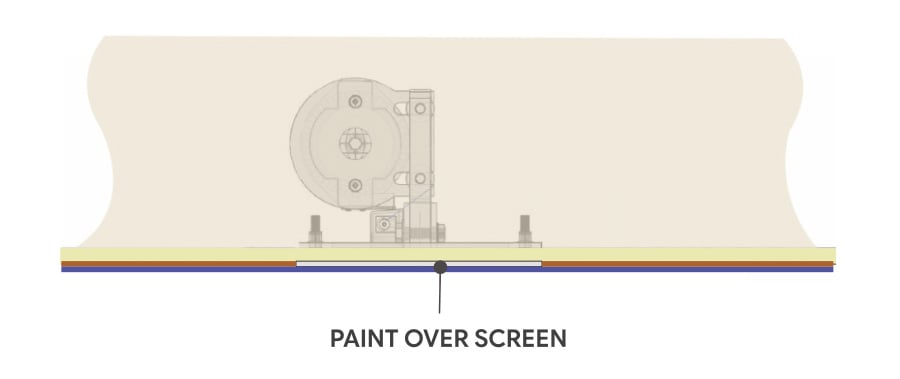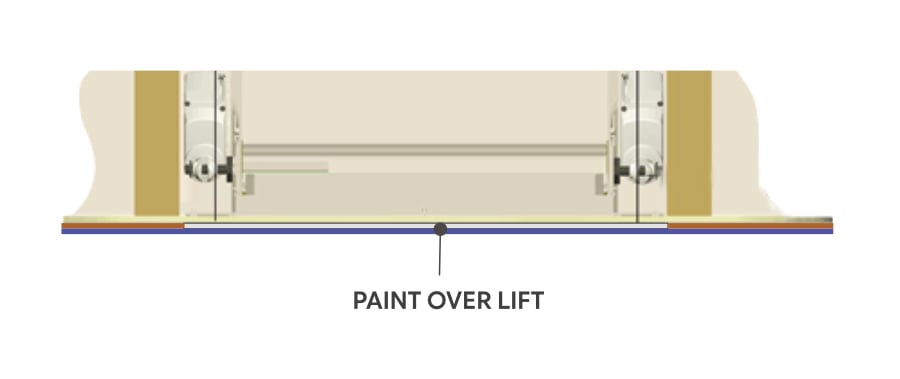
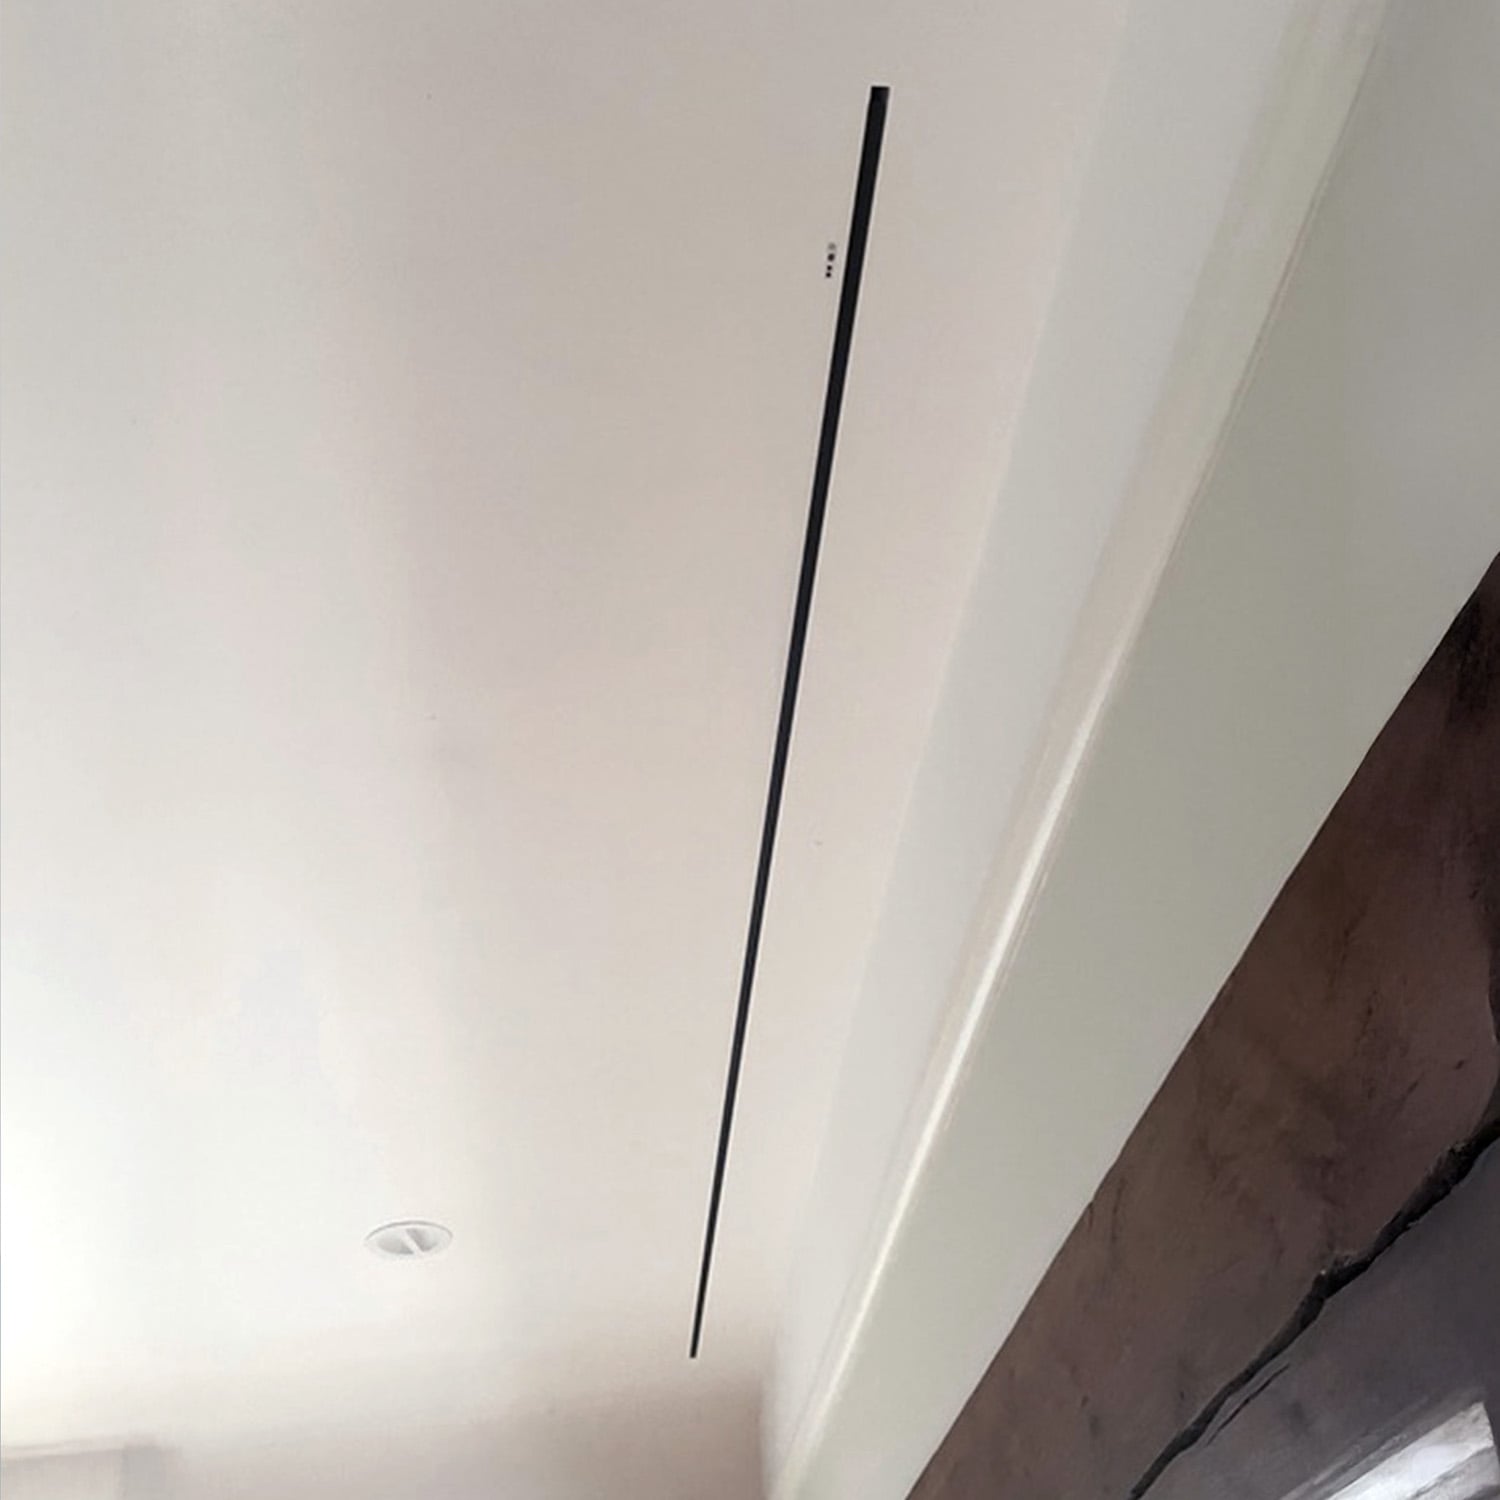
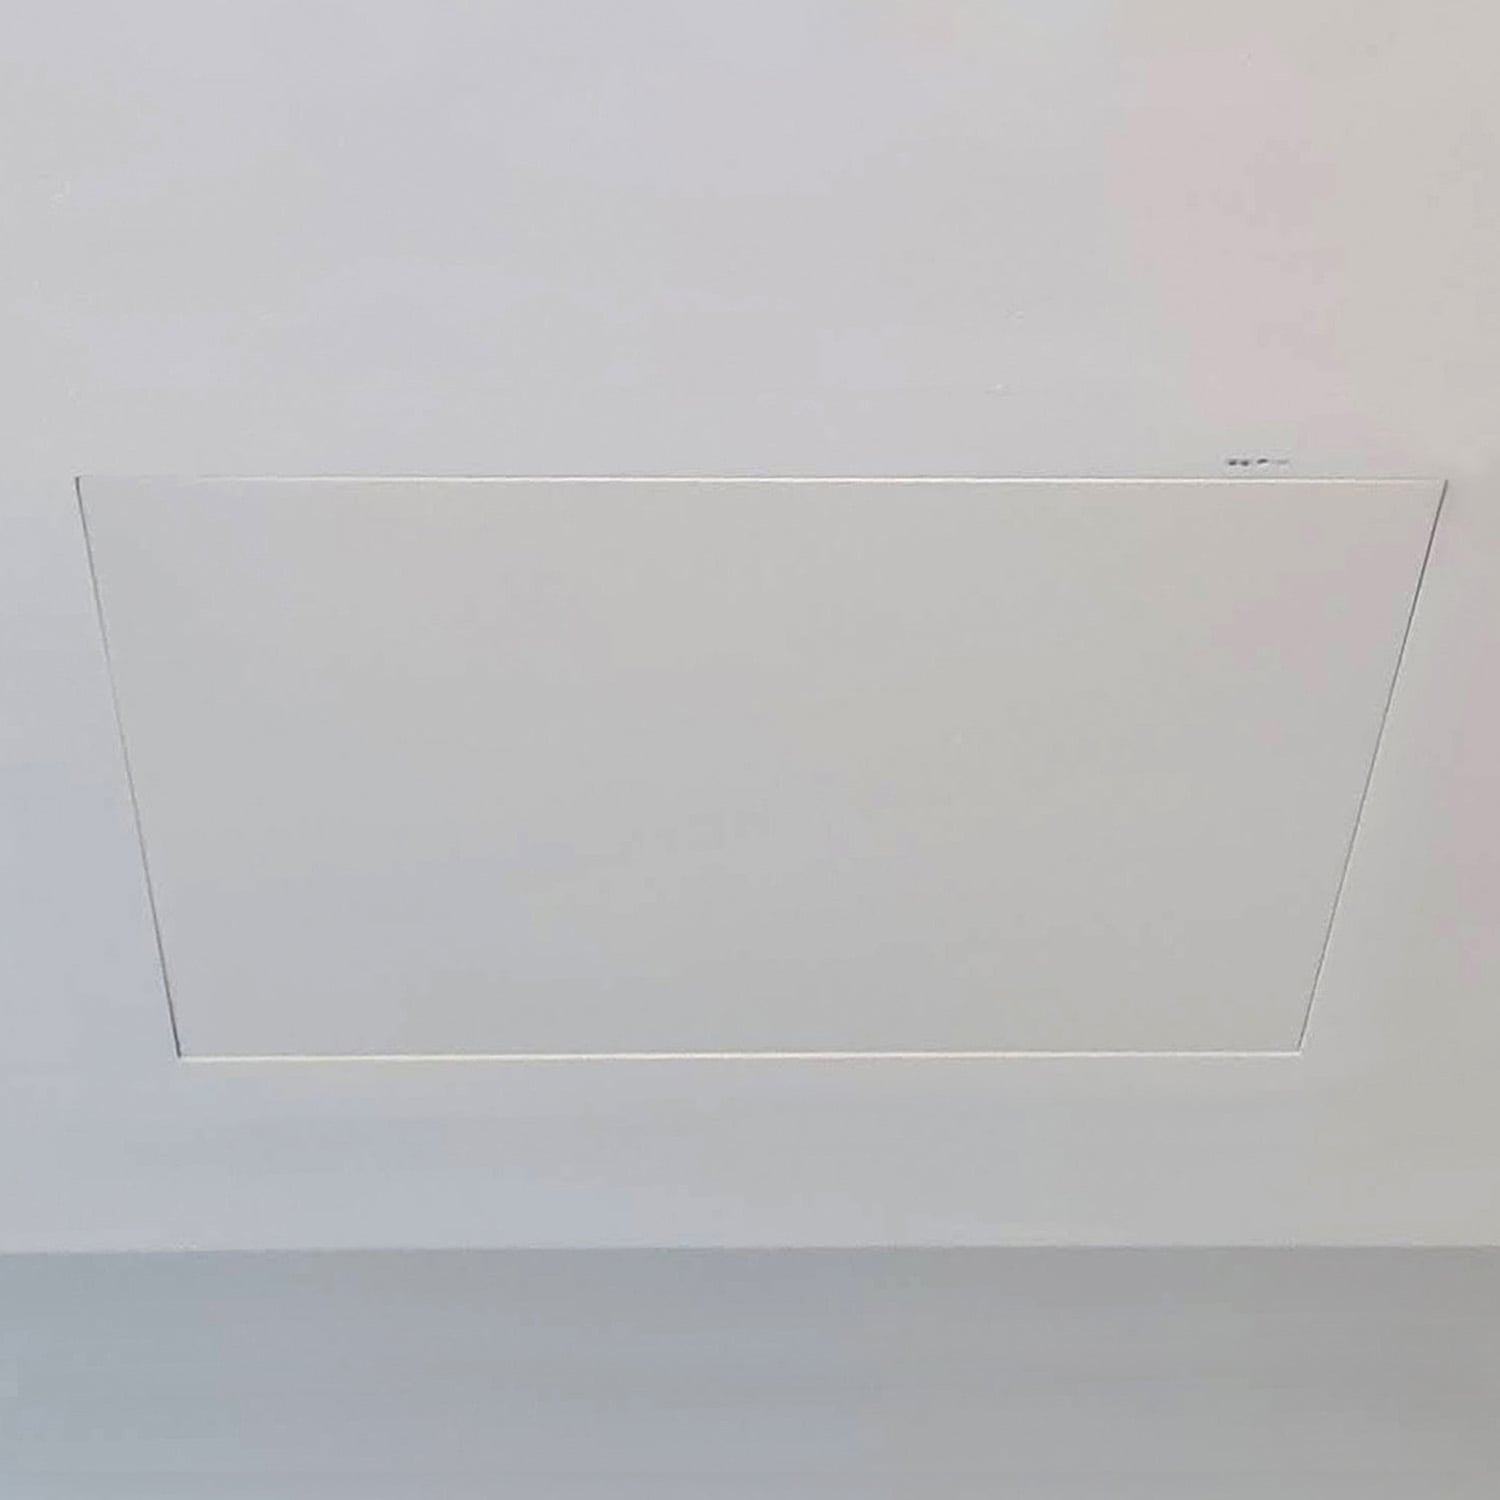
Our projector lifts and screens have been designed to be either flush mounted or surface mounted depending on your project. Flush mounting provides the most discrete solution possible with just small slots visible when retracted.
Here is an example of a flush mounted installation.
Step by Step Guide
STEP 1
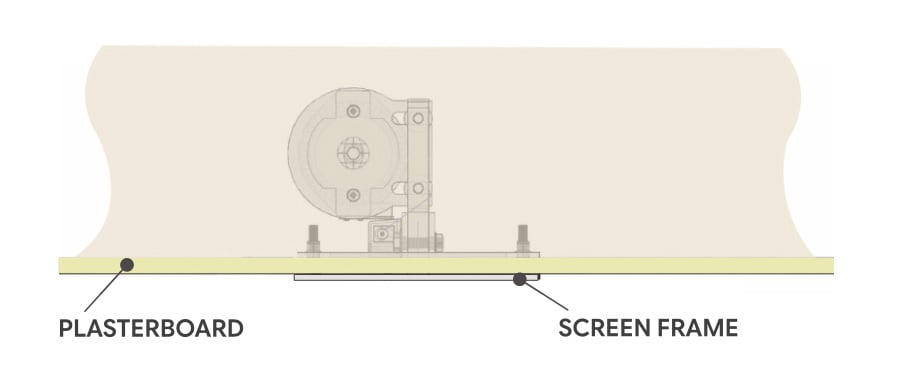
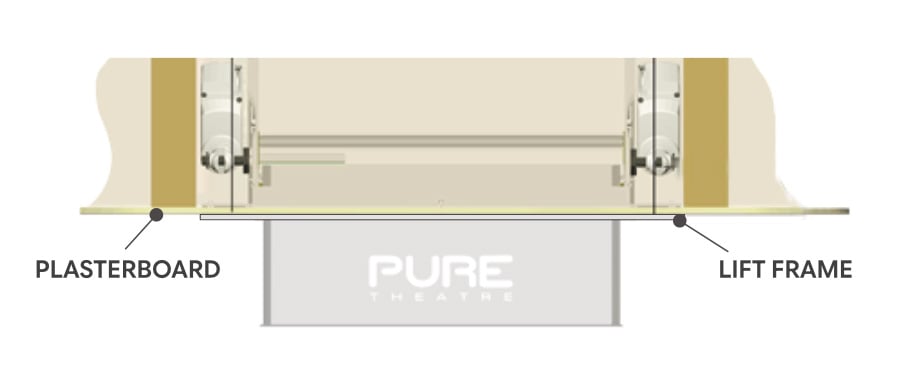
Fit the plasterboard as normal. Install the projector lift/screen as per the instruction manual so that the frame sits on top of the plasterboard.
STEP 2
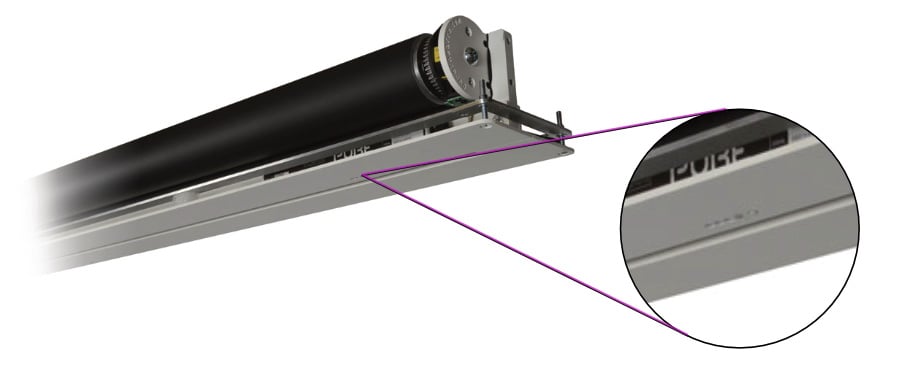
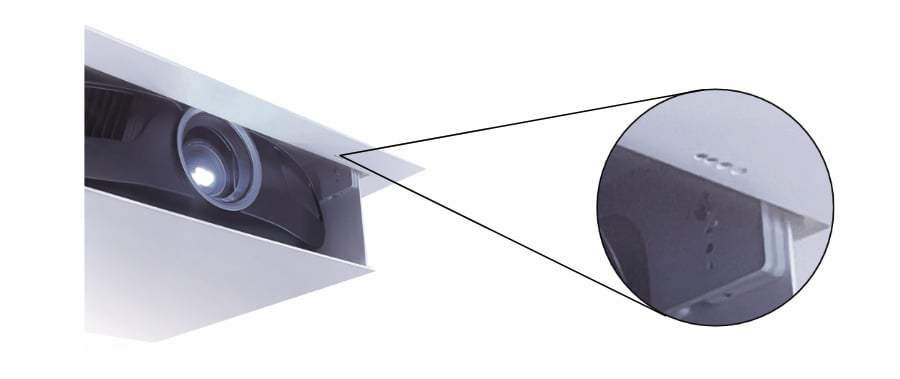
Before plastering and painting you will need to mask the LED/IR on the projector lift/screen to ensure these remain clear.
STEP 3
When plastering skim up to the projector lift/screen frame, and also skim over the mounting holes (No need to install the screw cap covers)
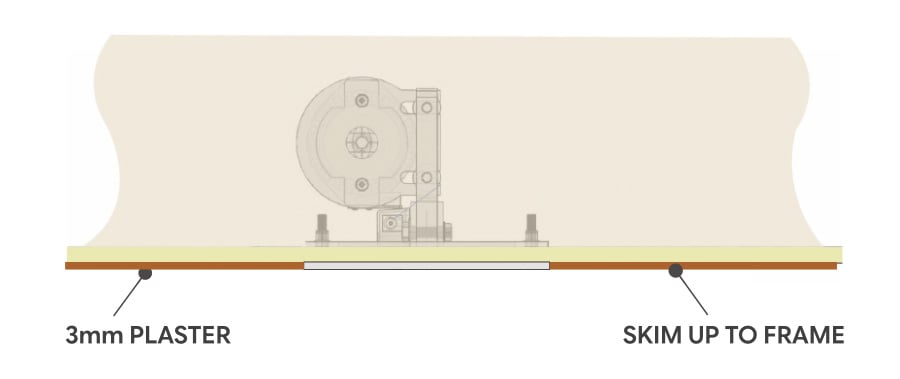
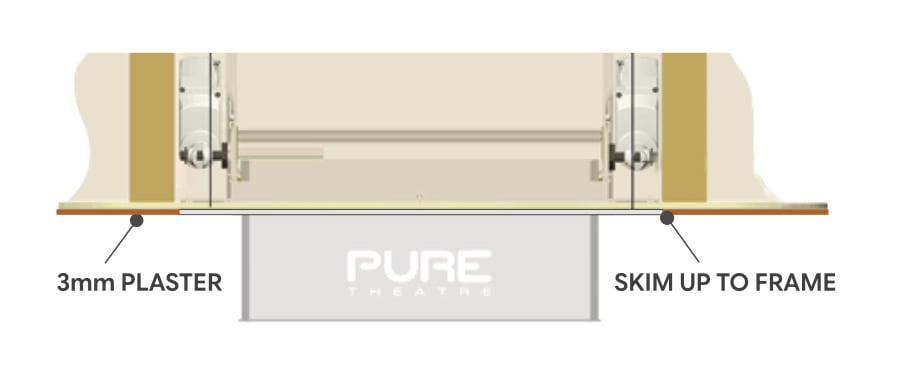
DO NOT PLASTER OVER THE BOTTOM - JUST SKIM LEVEL
STEP 4
Once the plaster is dry paint over the plaster and the surface of the Projector Lift/Screen. Once complete remove masking on controls.